

Table of Contents
Introduction
Setup Virtual hosts in XAMPP is very easy. Typically, developers utilize their local environments for development, but upon completion, they often employ a staging URL to test their code. Occasionally, compatibility issues may arise between the local environment and third-party APIs. In these cases, virtual hosts must be configured to ensure smooth operation. This enables you to run your local server on a designated URL. Further you will learn how to setup Virtual Hosts in XAMPP.
These days XAMPP is a popular local development environment. XAMPP is using by plenty of users as its free and easy to configure on windows11 and Linux. You can download XAMPP here.
Installing XAMPP
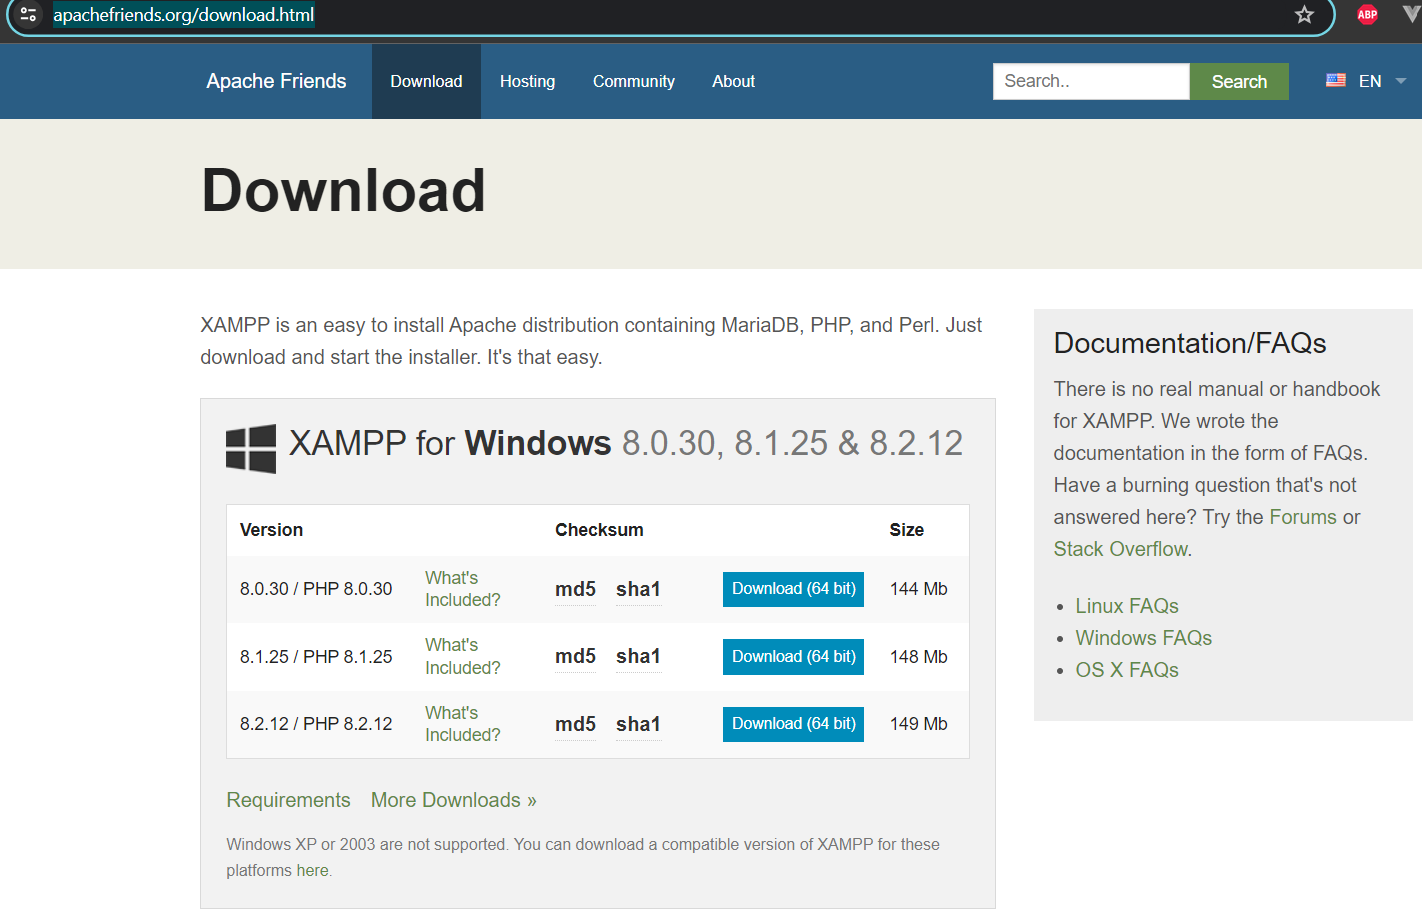
After you click here you can download Xampp for Windows11 from the first block:
You can also download it for Linux and Mac if you have Lunux or Mac operating system.
This Xampp package will comes with:
Apache 2.4.58, MariaDB 10.4.32, PHP 8.0.30, phpMyAdmin 5.2.1, OpenSSL 3.1.3, XAMPP Control Panel 3.2.4, Webalizer 2.23-04, Mercury Mail Transport System 4.63, FileZilla FTP Server 0.9.41, Tomcat 8.5.96 (with mod_proxy_ajp as connector), Strawberry Perl 5.32.1.1 Portable
So, you don’t have to install separately all the things like php, apache and mysql.
Creating a Virtual Host
For setup Virtual Hosts in XAMPP you have to follow these steps:
1. Open the httpd-vhosts.conf` file located in C:/xampp/apache/config/extra/.
2. Insert the following code snippet, for example:
3. Open the `hosts` file located in “C:/Windows/System32/drivers/etc” using administrative privileges and add these lines:
  127.0.0.1 localhost
  127.0.0.1 sassnew
4. Restart Apache to apply the changes, and you can now access sassnew/.
Follow the steps below to effortlessly establish VHosts or Virtual Hosts on your Wamp server:
These steps should guide you through the process effectively.
For an alternative scenario using XAMPP, consider the following steps:
1. Edit the `hosts` file located at `C:WindowsSystem32driversetchosts` with a text editor (e.g., Notepad) as an administrator. Add the following lines at the end:
  127.0.0.1 yourwebsite1.local
  127.0.0.1 yourwebsite2.local
Replace yourwebsite1.local and yourwebsite2.local with your desired domain names.
2. Navigate to your XAMPP installation directory, locate the httpd-vhosts.conf file (usually found in apacheconfextra), and open it with a text editor.
3. Add the following configuration at the end of the file:
  <VirtualHost *:80>
    DocumentRoot "C:/xampp/htdocs/yourwebsite1"
    ServerName yourwebsite1.local
    <Directory "C:/xampp/htdocs/yourwebsite1">
    Options Indexes FollowSymLinks Includes ExecCGI
    AllowOverride All
    Require all granted
    </Directory>
  </VirtualHost>
  <VirtualHost *:80>
    DocumentRoot "C:/xampp/htdocs/yourwebsite2"
    ServerName yourwebsite2.local
    <Directory "C:/xampp/htdocs/yourwebsite2">
    Options Indexes FollowSymLinks Includes ExecCGI
    AllowOverride All
    Require all granted
    </Directory>
  </VirtualHost>
Ensure you replace yourwebsite1 and yourwebsite2 with the actual folder names for your websites.

4. Save the changes and restart Apache to apply the modifications.
5. Create folders for each virtual host in the htdocs directory and place your website files in these folders.
6. Test your setup by opening your web browser and navigating to http://yourwebsite1.local and http://yourwebsite2.local. You should see the respective websites you set up.
These steps should assist you in successfully setting up virtual hosts using XAMPP or Wamp on your local machine, providing a convenient environment for developing and testing multiple projects concurrently.
Benefit of Setup Virtual Hosts in XAMPP
Multiple Website Simulation:
Virtual hosts allow developers to simulate and work on multiple websites concurrently on a single local machine. This is particularly useful for projects that involve multiple domains or subdomains.
Isolation of Projects:
The ability for each virtual host to have a unique DocumentRoot directory structure allows for the isolation of projects. This division is essential to preventing disputes between several projects and preserving a tidy and well-organized development environment.
Realistic Development Environment:
A more realistic development environment is made possible by virtual hosts, which let programmers utilize domain names (like example.local) instead of merely localhost. This aids in locating and fixing possible problems with settings that are domain-specific.
Conclusion
The conclusion is Setup Virtual host on your local machine will provide you lots great benefits.
Thanks for Reading.